Sanding is arguably a woodworker’s least favorite part of the job.
But oddly enough for many woodworkers, it is a step that often becomes wasted effort. We see a common attitude that “the more you sand, the better the finish will be”.
The key here? Once the wood is free of “mill marks”, the sanding scratches are fine, and the wood is smooth, stop sanding. There is no need to take it all the way down to 400 grit.
Choosing the right sandpaper.
Effective sanding begins with sandpaper coarse enough to remove the marks left from the milling process and any other flaws that need to be removed with the least amount of effort possible (scratches, gouges, dents), yet fine enough to avoid creating large sanding scratches in the wood’s surface. Depending on the wood’s density and the severity of defects, generally, it is ok to start with a sandpaper grit around 100. However, if there are only minor marks or defects in the wood, it is encouraged to use a finer grit such as 120 or 150.
Keep an eye on your sandpaper and change it often.
Another key to maintaining efficient sanding practices is to change the sandpaper more often. Dull sandpaper is one more common error that can cause valuable time to be wasted in a wood shop. Because the cutting ability of sandpaper quickly deteriorates, it is important to keep an eye on what is going on with your sandpaper.
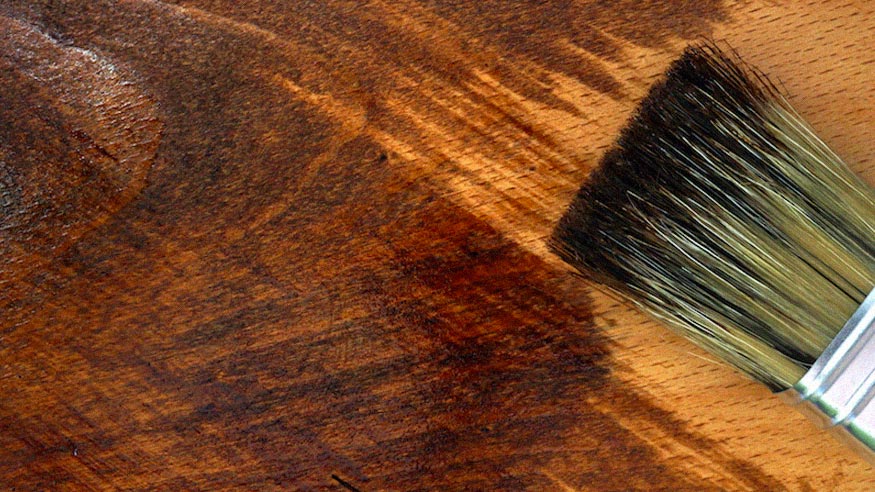
Minimizing unsightly glue marks.
Glue seals wood, and prevents stain or finish from penetrating the wood’s surface appropriately. No matter how hard we might try, we will always – without fail – end up with glue splotches on the surface of our products. To achieve the highest quality finish, it is important for us to know how to minimize and remove glue splotches from the surface of whatever we create.
In building cabinetry, there are few things we, as woodworkers, can do to help minimize the amount of glue that ends up where it’s not supposed to.
One of the obvious tactics is to apply glue almost sparingly–excessive glue can squeeze out of dowel holes and joints. Cutting dowel holes and mortises deeper than necessary will allow excess glue to collect in the bottom of the hole instead on the surface of the wood.
We can also transfer glue onto the surface of wood with our own hands, so it is also helpful to have a rag nearby to remove as much glue from your hands as possible. But these steps in preventing glue splotches won’t always work. And when they don’t, we must remove those glue splotches.
How? Scrape it, or sand it off.
To scrape dried glue off of wood, use a chisel to get into the smaller areas, such as joints, and use a scraping motion rather than a “chisel” motion. At D.P. Juza Woods & Fixtures, we use glue scrapers. One can also sand the glue splotch off if it is relatively small.
Repairing blemishes in your wood.
The last step to preparing wood’s surface for finishing is repairing blemishes. In the building process, wood gets dented and gouged. Sometimes the wood already has holes in it. But how do you “repair” dents? It doesn’t seem practical to create a patch for a dent, and sure, we could maybe fill small dents. But there’s often an easier fix.
The answer? Iron the dents out!
A technique to remove dents from wood we have found to be nearly 100 percent effective is using a little bit of water, a rag, and an iron to steam the dents out.
Sometimes gouges can be rather large, and filling a large gouge with putty will just make the gouge stick out like a sore thumb. In these instances, we prefer using a wood patch. It works best to fill gouges, because it is easily disguised and is very durable. The patch is placed with its grain aligned with the surround grain and it expands and shrinks with the surrounding wood, making it resistant to cracking and in the long run, falling out.

When making a wood patch, trace the shape of the gouge onto another piece of wood that is the same color and has the same grain pattern of the wood you are working with. Cut out the patch, preferably a little thicker than the gouge that needs to be repaired. Once it is placed and glued into the gouge, let it dry, and then adjust the thickness to be flush with the surface of the wood. Once any gouges are repaired, small defects can be filled with putty and the surface of the wood will finally be ready to finish!